Starting from the harness attachment loops we worked through the correct names for all the parts of a glider through to the canopy while learning how to identify any issues along the way. In the afternoon we similarly detailed our harnesses and putting them on safely before heading to the field to practise forward launches in the evening.
Disclaimer: This is part 1 of an 8 part series detailing what I learned and experienced recently while undertaking the fantastic paragliding course with the team at FlyManilla. You can find links to the rest of the details for each day from my overall course summary. I’m taking notes for my own personal reference and learning while it’s fresh, but it’s totally possible I’ve remembered incorrectly and have made mistakes. These are not notes for others to learn from but may give an interested passer-by who is considering a course a good idea about how valuable the course at Manilla is. If you’re interested in learning to paraglide, I’d totally recommend this live-in 9-day course at FlyManilla.
Morning session - from risers to canopy
After an initial meet-n-greet session, we headed out with a canopy to go over the parts from the harness attachments through to the canopy.
Notes
Checking the glider and lines for damage should obviously be done regularly - you are not only the pilot but also the engineer responsible for this flying wing. Starting with the harness attachment point, check the webbing of the risers for any damage - rips or cuts or abrasion. The risers are similar to the seat-belts in a car. Any damage and you should not pass rego.
Then check the quick-link (triangle screw carabiner) where the lines are joined to the harness, ensuring that each one has a plug fitted so that the lines can’t move and suffer abrasion. Then check the threading around the loop of the lines. There’s similar threading around the lines at the other end where they join the canopy as well as where the lines split, but there’s less chance for abrasion there. After the lines are untangled, check for any kinks or possible damage which can be caused easily in the core of the lines if they get caught on sharp objects, rocks or even tufts of grass during inflation. The lines themselves can be tested for core damage by attaching the risers to a fence or similar and then checking each line for stretch by pulling where they join the canopy. Then check for stress marks where the lines attach to the canopy - which can also happen during inflation when lines are caught.
The canopy is made of rip-stop material - the small squares that you can see in the material, which is great for stopping rips but can’t help with other effects, such as that of the sun (which costs around $10/hr in value for your glider). It’s trivial to do a rough porosity check of the material by putting your lips to a section of the upper canopy surface and trying to suck air through, then repeating with the lower surface, which gets less sun damage or abrasion damage, to see the difference.
Note: repeated wetting and drying, even from moisture, will also damage the fibres of the canopy. Gliders from the coast will on average age 30% more than those inland due to the humidity. Some cheaper gliders don’t have covers on the lines which means they need replacing after 200hrs or so (due to sun and abrasion damage). Question: aren’t unsheathed lines used for weight / drag reasons too?
Glider layout
When laying out the glider, lay it out straight / flat, then grab the middle and take two steps back, so that when you lift the lines you’ll be lifting them more evenly.
Untangling the lines
Even for the worst tangles, if you start with a single line from the canopy (such as an A-line) and work towards the risers, ensuring that it alone is free of tangles through to the riser, then once done it’s just a matter of untwisting the risers - the rest of the lines should be untangled.
Once your lines are untangled you can daisy-chain the lines to pack up without knots. Here’s a skydiver demonstrating daisy-chaining the lines, though we were taught not to do them anywhere near as tight as shown here:
Weight ranges for a glider
Finally, before trying a friends glider, always check the build plate for weight range - don’t go by the area/size as theres no consistency between flat and projected area between brands. A glider will handle very differently when outside its certified weight range which can be much more dangerous.
Afternoon session - harnesses
After lunch we headed into the hall to go over all the parts of a harness and practise putting them on safely. The wind was stronger than expected outside so we postponed our forward-launch practise on the flat field until later in the evening.
Harness notes
Careful with the main carabiners - never let them hit concrete or rock hard as they can fracture. Always lay the harness down carefully on its side, not sitting upright. Check the opening of the carabiners for smoothness of opening. When attaching the risers, always check the correct closure - don’t go by the sound only. Some accidents happen because carabiners aren’t closed properly and can be bent when not closed. Similarly, always check the quick release buckles for the leg straps and chest strap by trying to pull them apart diagonally.
IMPORTANT: If you undo one harness buckle, undo them all. 4 or 5 deaths in past 20 years in Australia have been because people land, undo leg straps only to walk around more freely and take a leak or something, then get ready to fly again without doing them up again. You’ll hold on for a minute or two max and then fall. For the same reason, always do the leg straps first before the chest strap, so you don’t end up without leg straps which are easier to miss.
Older harnesses used a plywood board but newer ones have carbon fibre boards. Do not put your knee on them to pack the glider or any other focussed weight, or risk cracking the seat board.
The back protection is useful not only if you’re falling close to the ground, but also if you find you’re coming in too fast horizontally (due to an unexpected wind change for example). Better to pull your legs up and skid, using the bottom of the harness and its built in back protection, rather than break an ankle.
Check the webbing of the harness straps every time you fly for damage, cuts, abrasion etc. If you want to know the history of a harness, the seat board is a good place to look (though it’d be replaceable, I assume).
When you take off your helmet always attach it to your shoulder strap so it’s never missing when you get to the launch site.
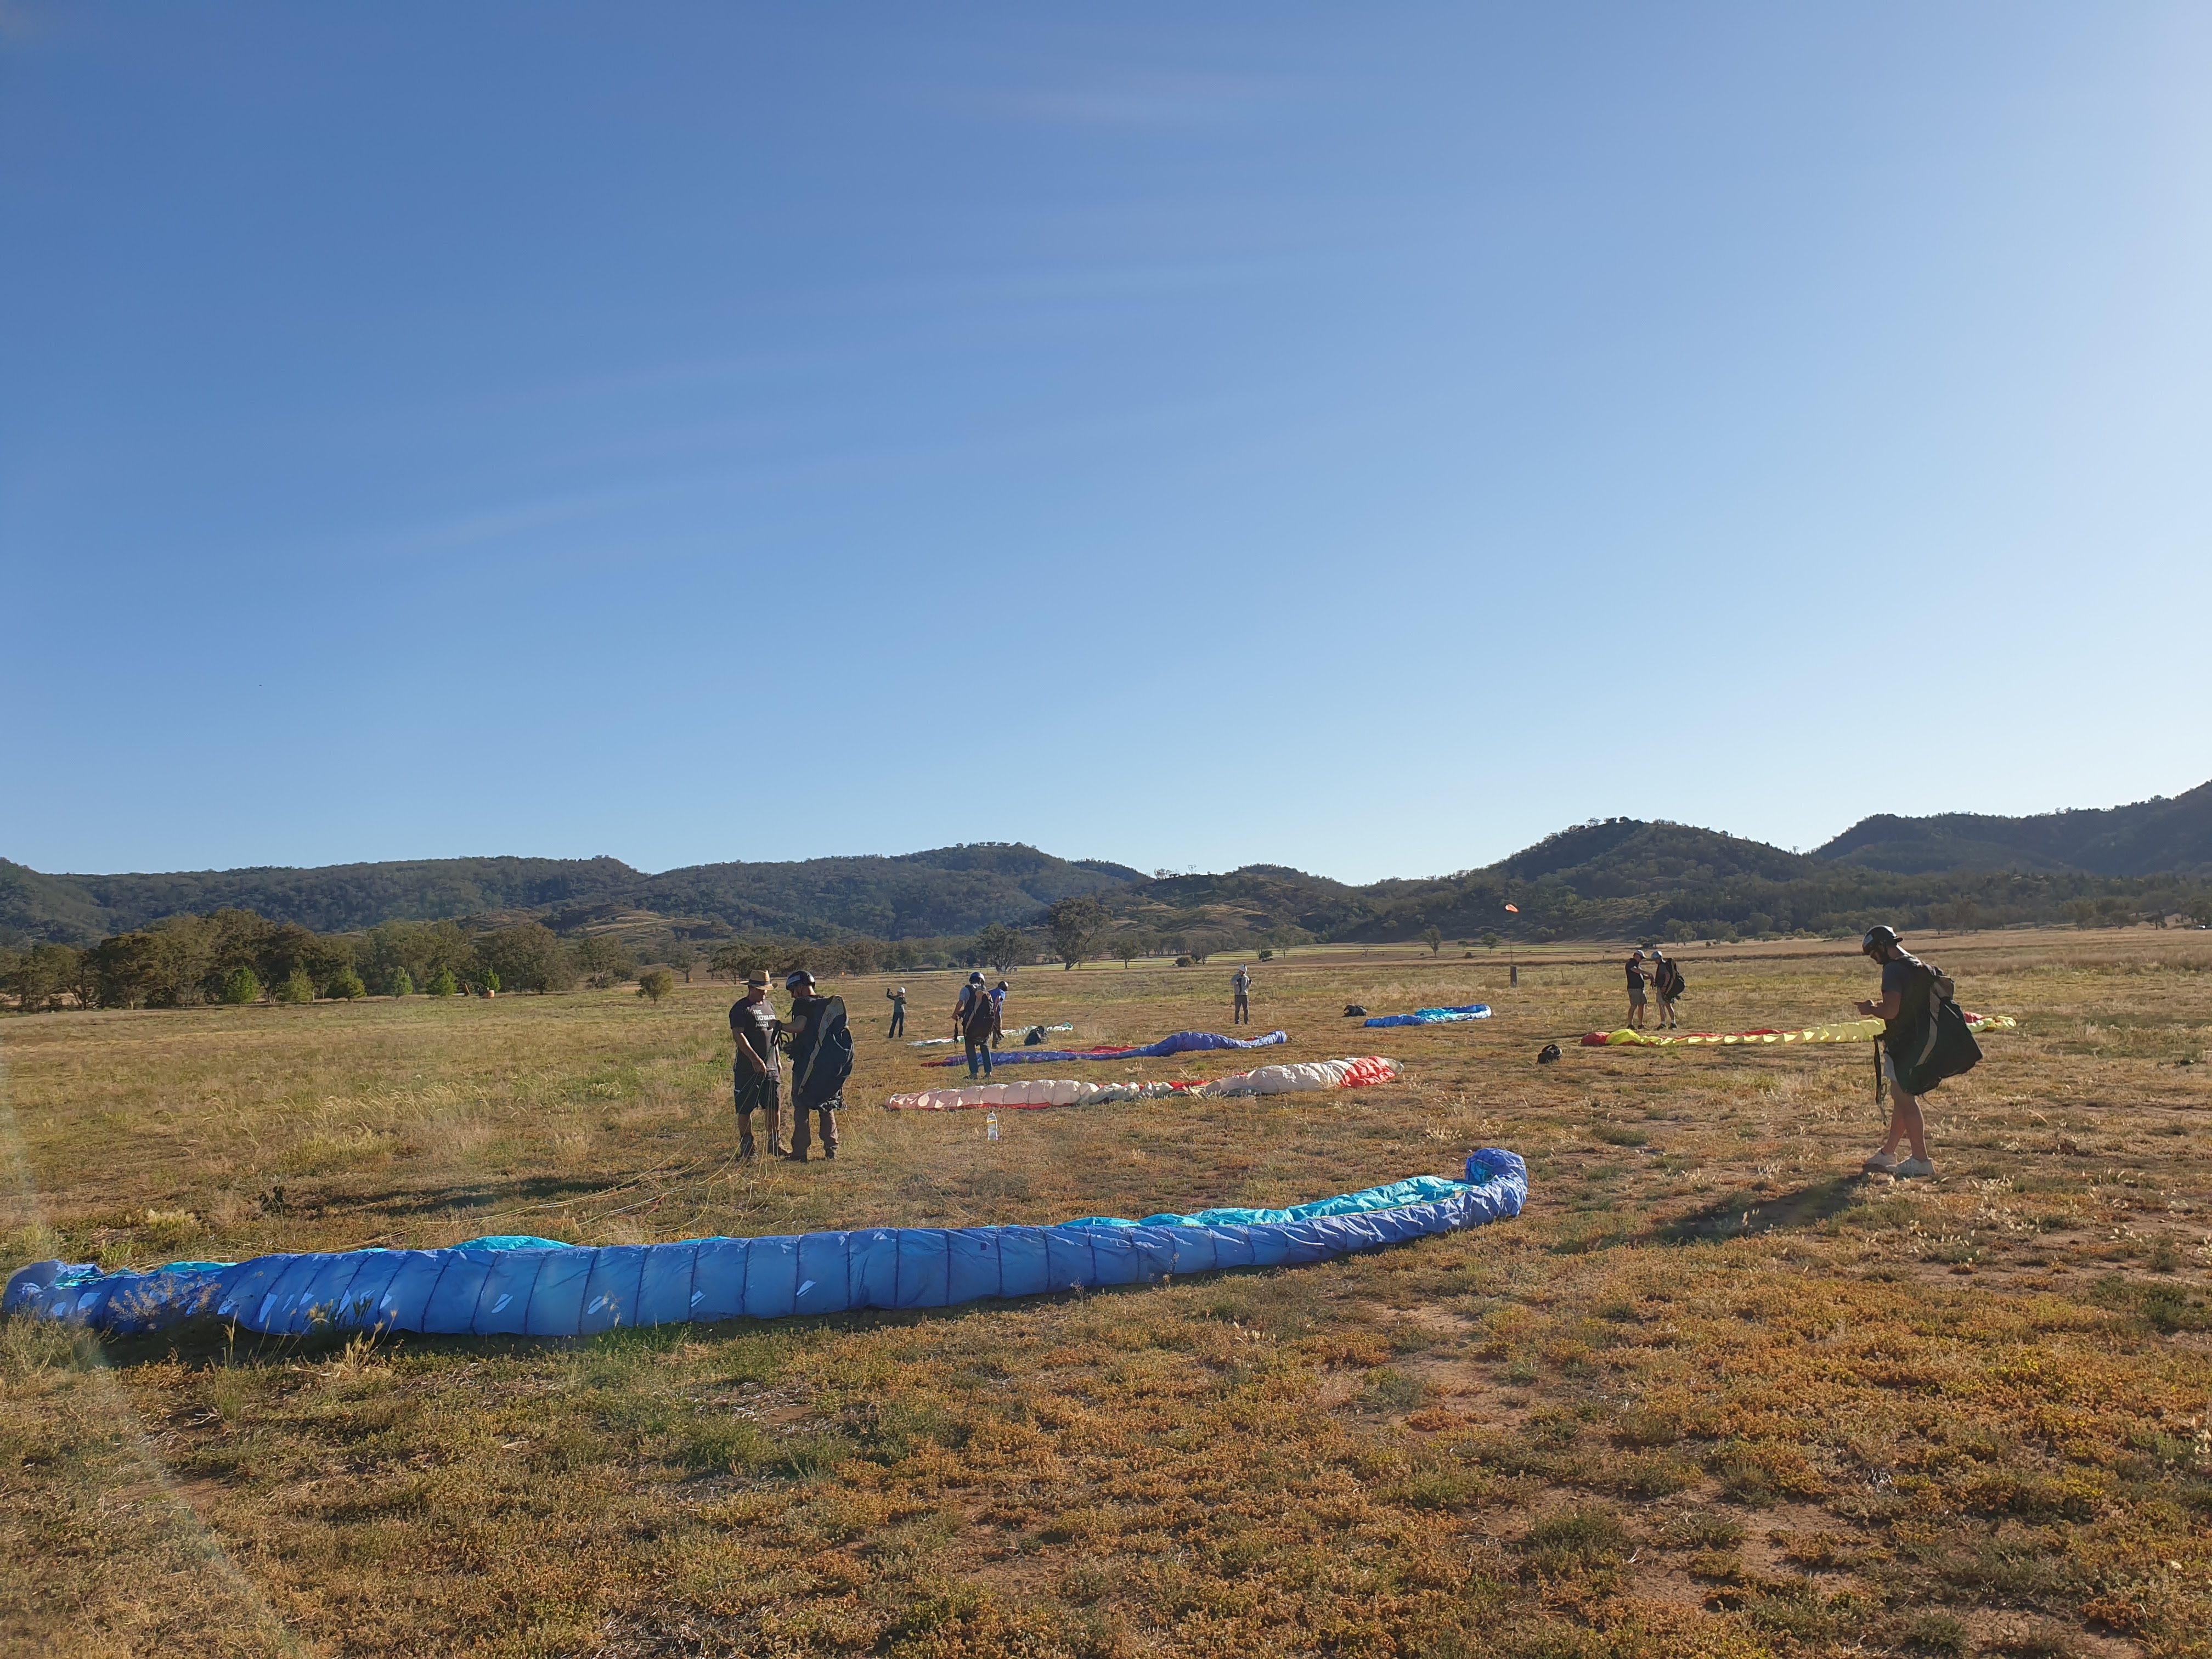
Evening session - forward launches
By 5pm or so the wind had died down and we headed out to the flat field to practise setting up and beginning a forward launch, without ever leaving the ground. It was a lot of fun to finally have the glider getting up into the air and both steering a little while staying under the wing. It was also an excellent opportunity to practise the daisy-chaining of the lines repeatedly while moving the gliders back for another turn!
Forward launch notes
Attaching the risers correctly
After untangling lines, face forward with the harness on. Take one set of risers and make the attachment whole bigger for an easy attach. Hold the riser attachment like a pen with index finger along the front (the same side as the front of the A riser) and ensure this faces outwards so the As will be facing the front when the glider risers over your head and attach to the carabiner. Double check after clipping in that the As are away from you by pulling the riser up as if you were in flight. Repeat for the other side.
Inflating the wing
Then take a brake, put arm right under all the risers so they rest over the forearm and grab the A riser to hold straight up in a “Stop, don’t shoot me” position. Check the tension on the A lines is even. When ready (or instructed in this case), run forward staying as upright as possible with arms still in the “don’t shoot me” position until the gliders comes all the way up right above you. If it’s inflated and stable, let go of the A’s, bend forward into the risers and “open the sliding doors” with the brakes to end up looking like a kid who wants to fly, arms back behind but as high as possible (ie. no brake). Enjoy running down the field trying to “balance the broomstick”: if the glider pulls to the right, move to the right to stay underneath it while also applying a little left brake to get back on course. Note that when running, you should always feel a couple of kilos of the risers against your shoulders: if there’s no pressure then the wing is probably going out in front of you, whereas if there’s too much pressure it’s going behind.
Bringing the glider to the ground again
To stop, apply a little brake to start the wing moving behind, then stop, turn and bow with the brakes (ie. pulling full brakes). Depending on the wind, may need to keep walking (no wind, keep some pressure) or move towards the glider (more wind than you want, reduce pressure).
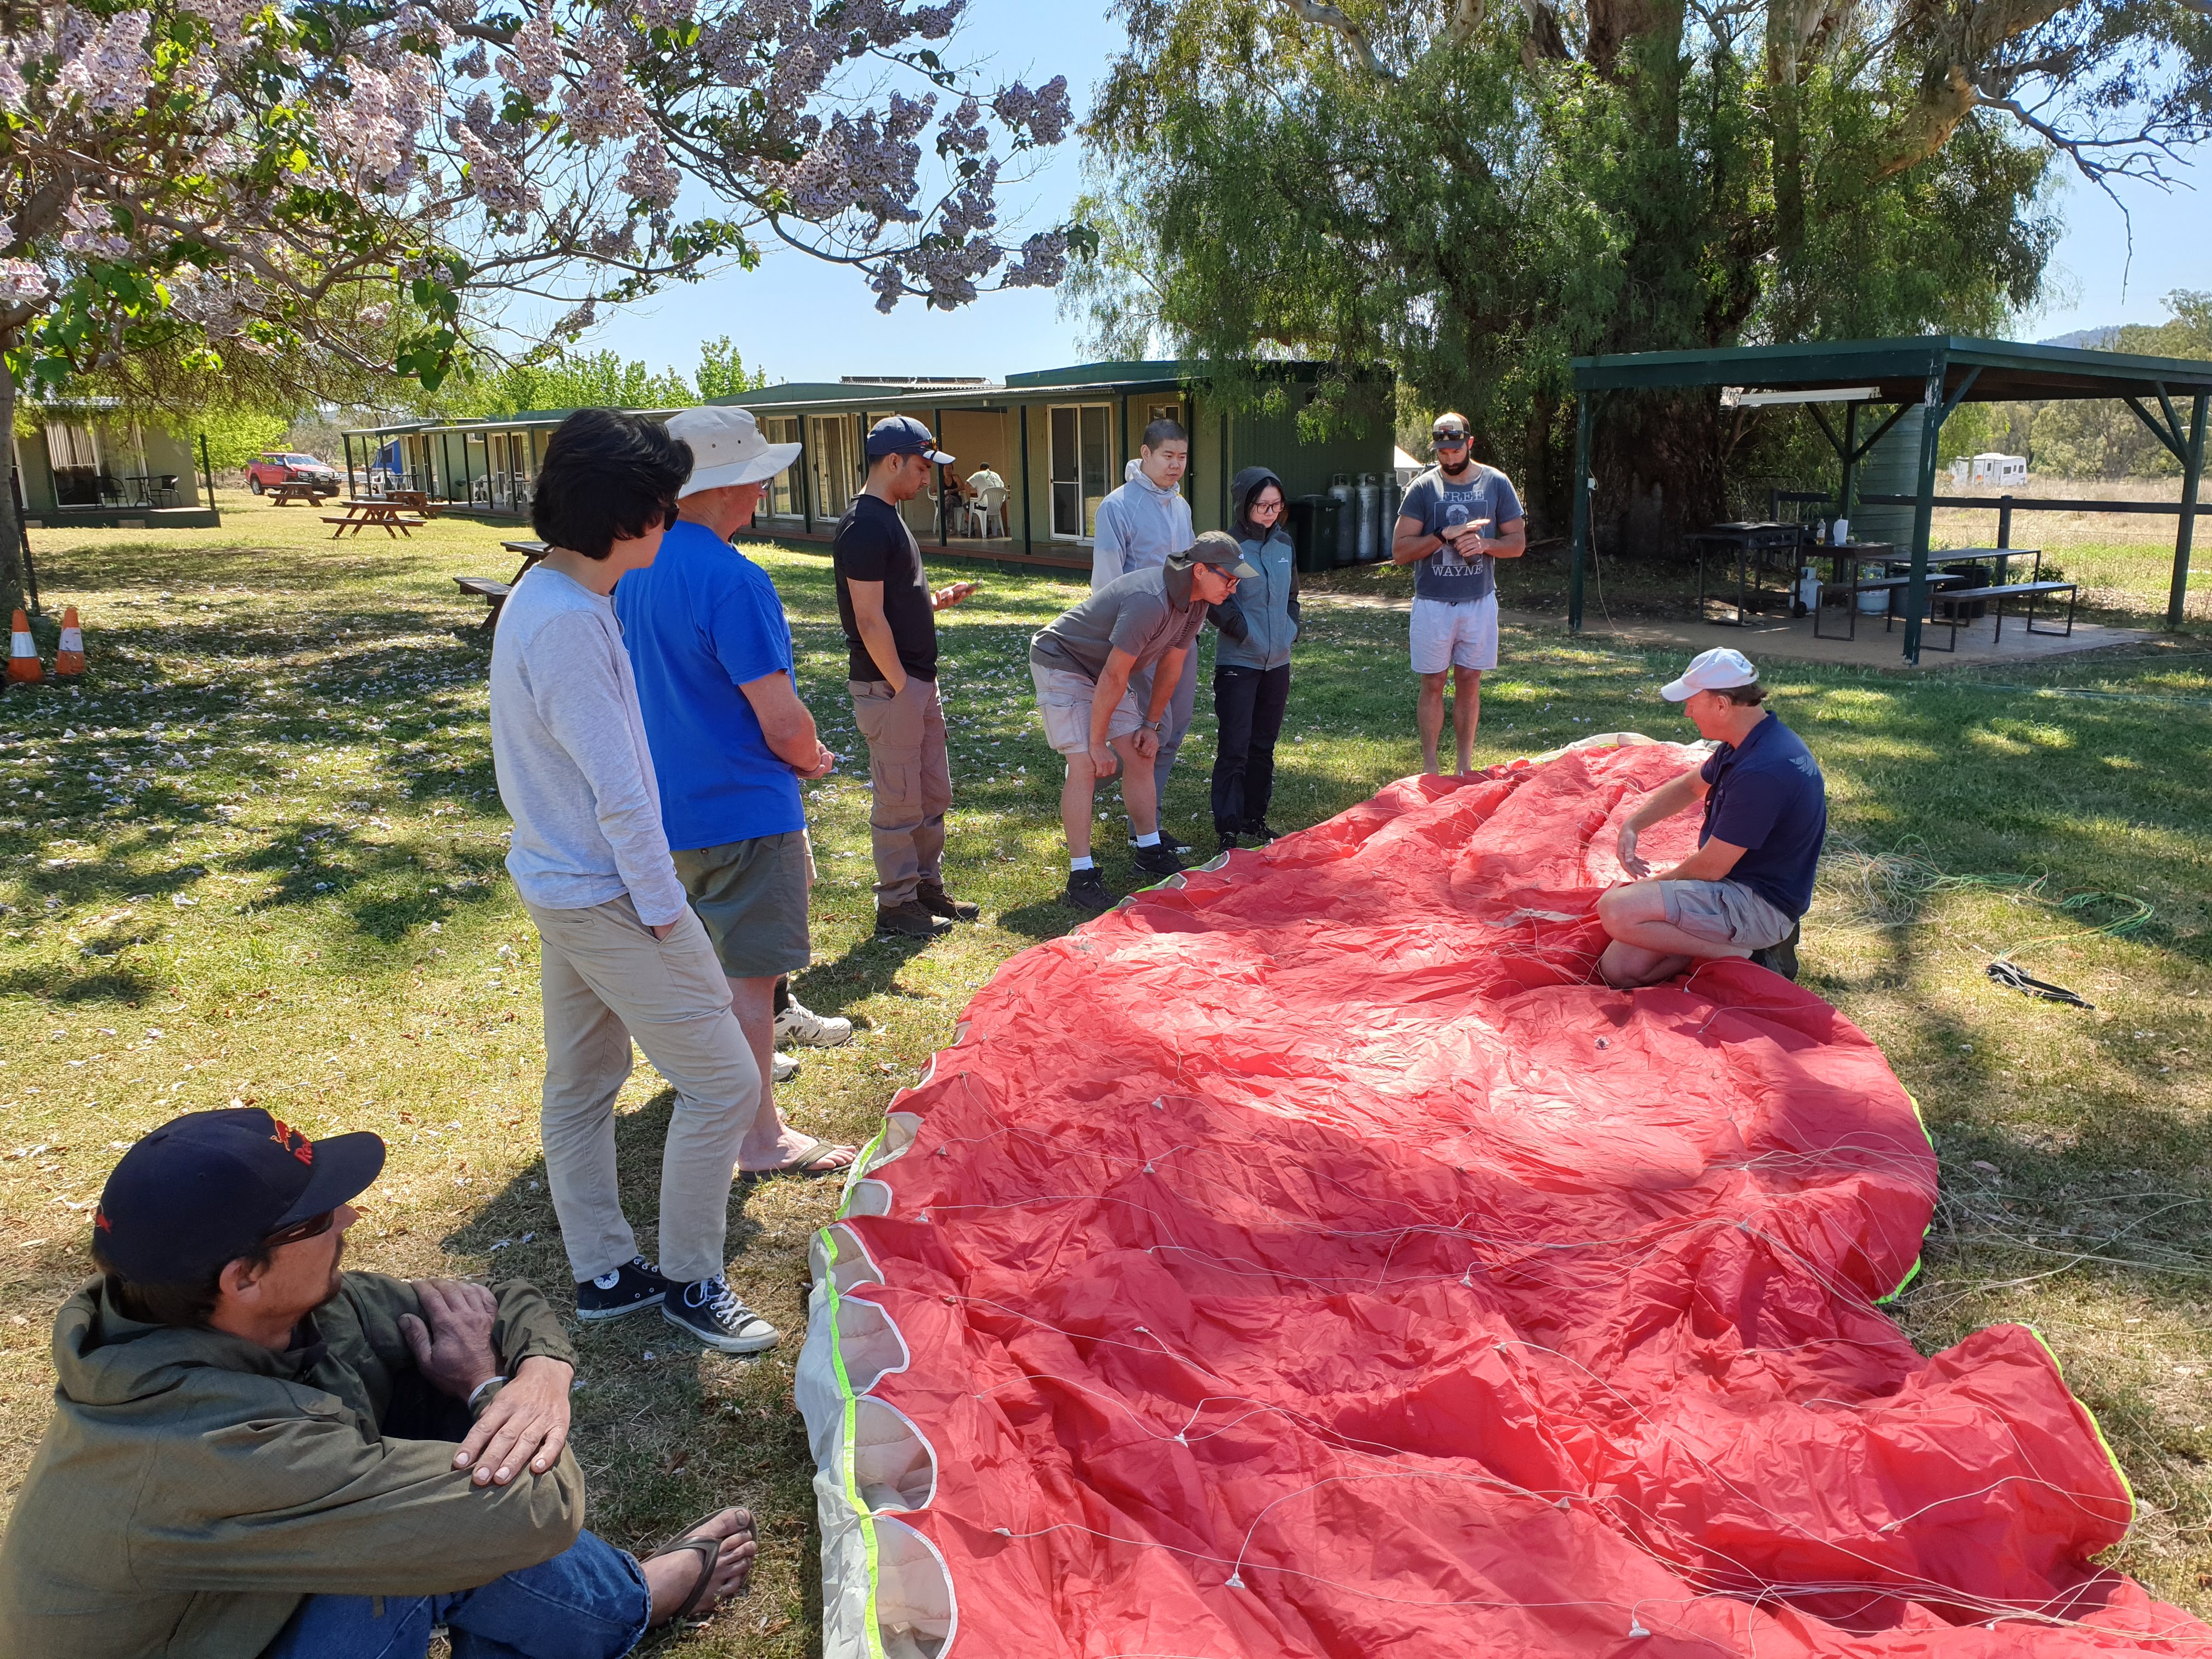
Bonus session - packing a reserve parachute
In the evening Karl, one of the instructors, was demonstrating how a reserve parachute is repacked. Incredibly systematic process, testing each phase to ensure the chute will inflate as quickly and easily as possible when thrown. I now see why it’s worth paying someone $50 to repack the reserve - given your life may depend on it!
Tomorrow morning we’re heading to the training slope to do our first small flights! (only a metre or two off the ground, but practising takeoffs and landing)
What a day!