At 8am we were in the basher heading up to the north launch and ready to go! Our first high flights are done with pretty strict supervision: Godfrey checks everything at the top and gets us into the air safely and then hands over on the radio to Karl and Bob who instruct us via radio for our approach and landing. All up the flights were only 6 or 7 minutes, but that’s 6 or 7 minutes being in control of our own wing in the air! It’s still incredible each time at the moment, realising I’m in the air, gliding like a bird down to land (well, a pretty clumsy bird, but still). In the afternoon the wind had picked up and was too strong for us, so it was back to head-quarters to learn about various emergency situations and how best to handle them.
Disclaimer: This is part 4 of an 8 part series detailing what I learned and experienced recently while undertaking the fantastic paragliding course with the team at FlyManilla. You can find links to the rest of the details for each day from my overall course summary. I’m taking notes for my own personal reference and learning while it’s fresh, but it’s totally possible I’ve remembered incorrectly and have made mistakes. These are not notes for others to learn from but may give an interested passer-by who is considering a course a good idea about how valuable the course at Manilla is. If you’re interested in learning to paraglide, I’d totally recommend this live-in 9-day course at FlyManilla.
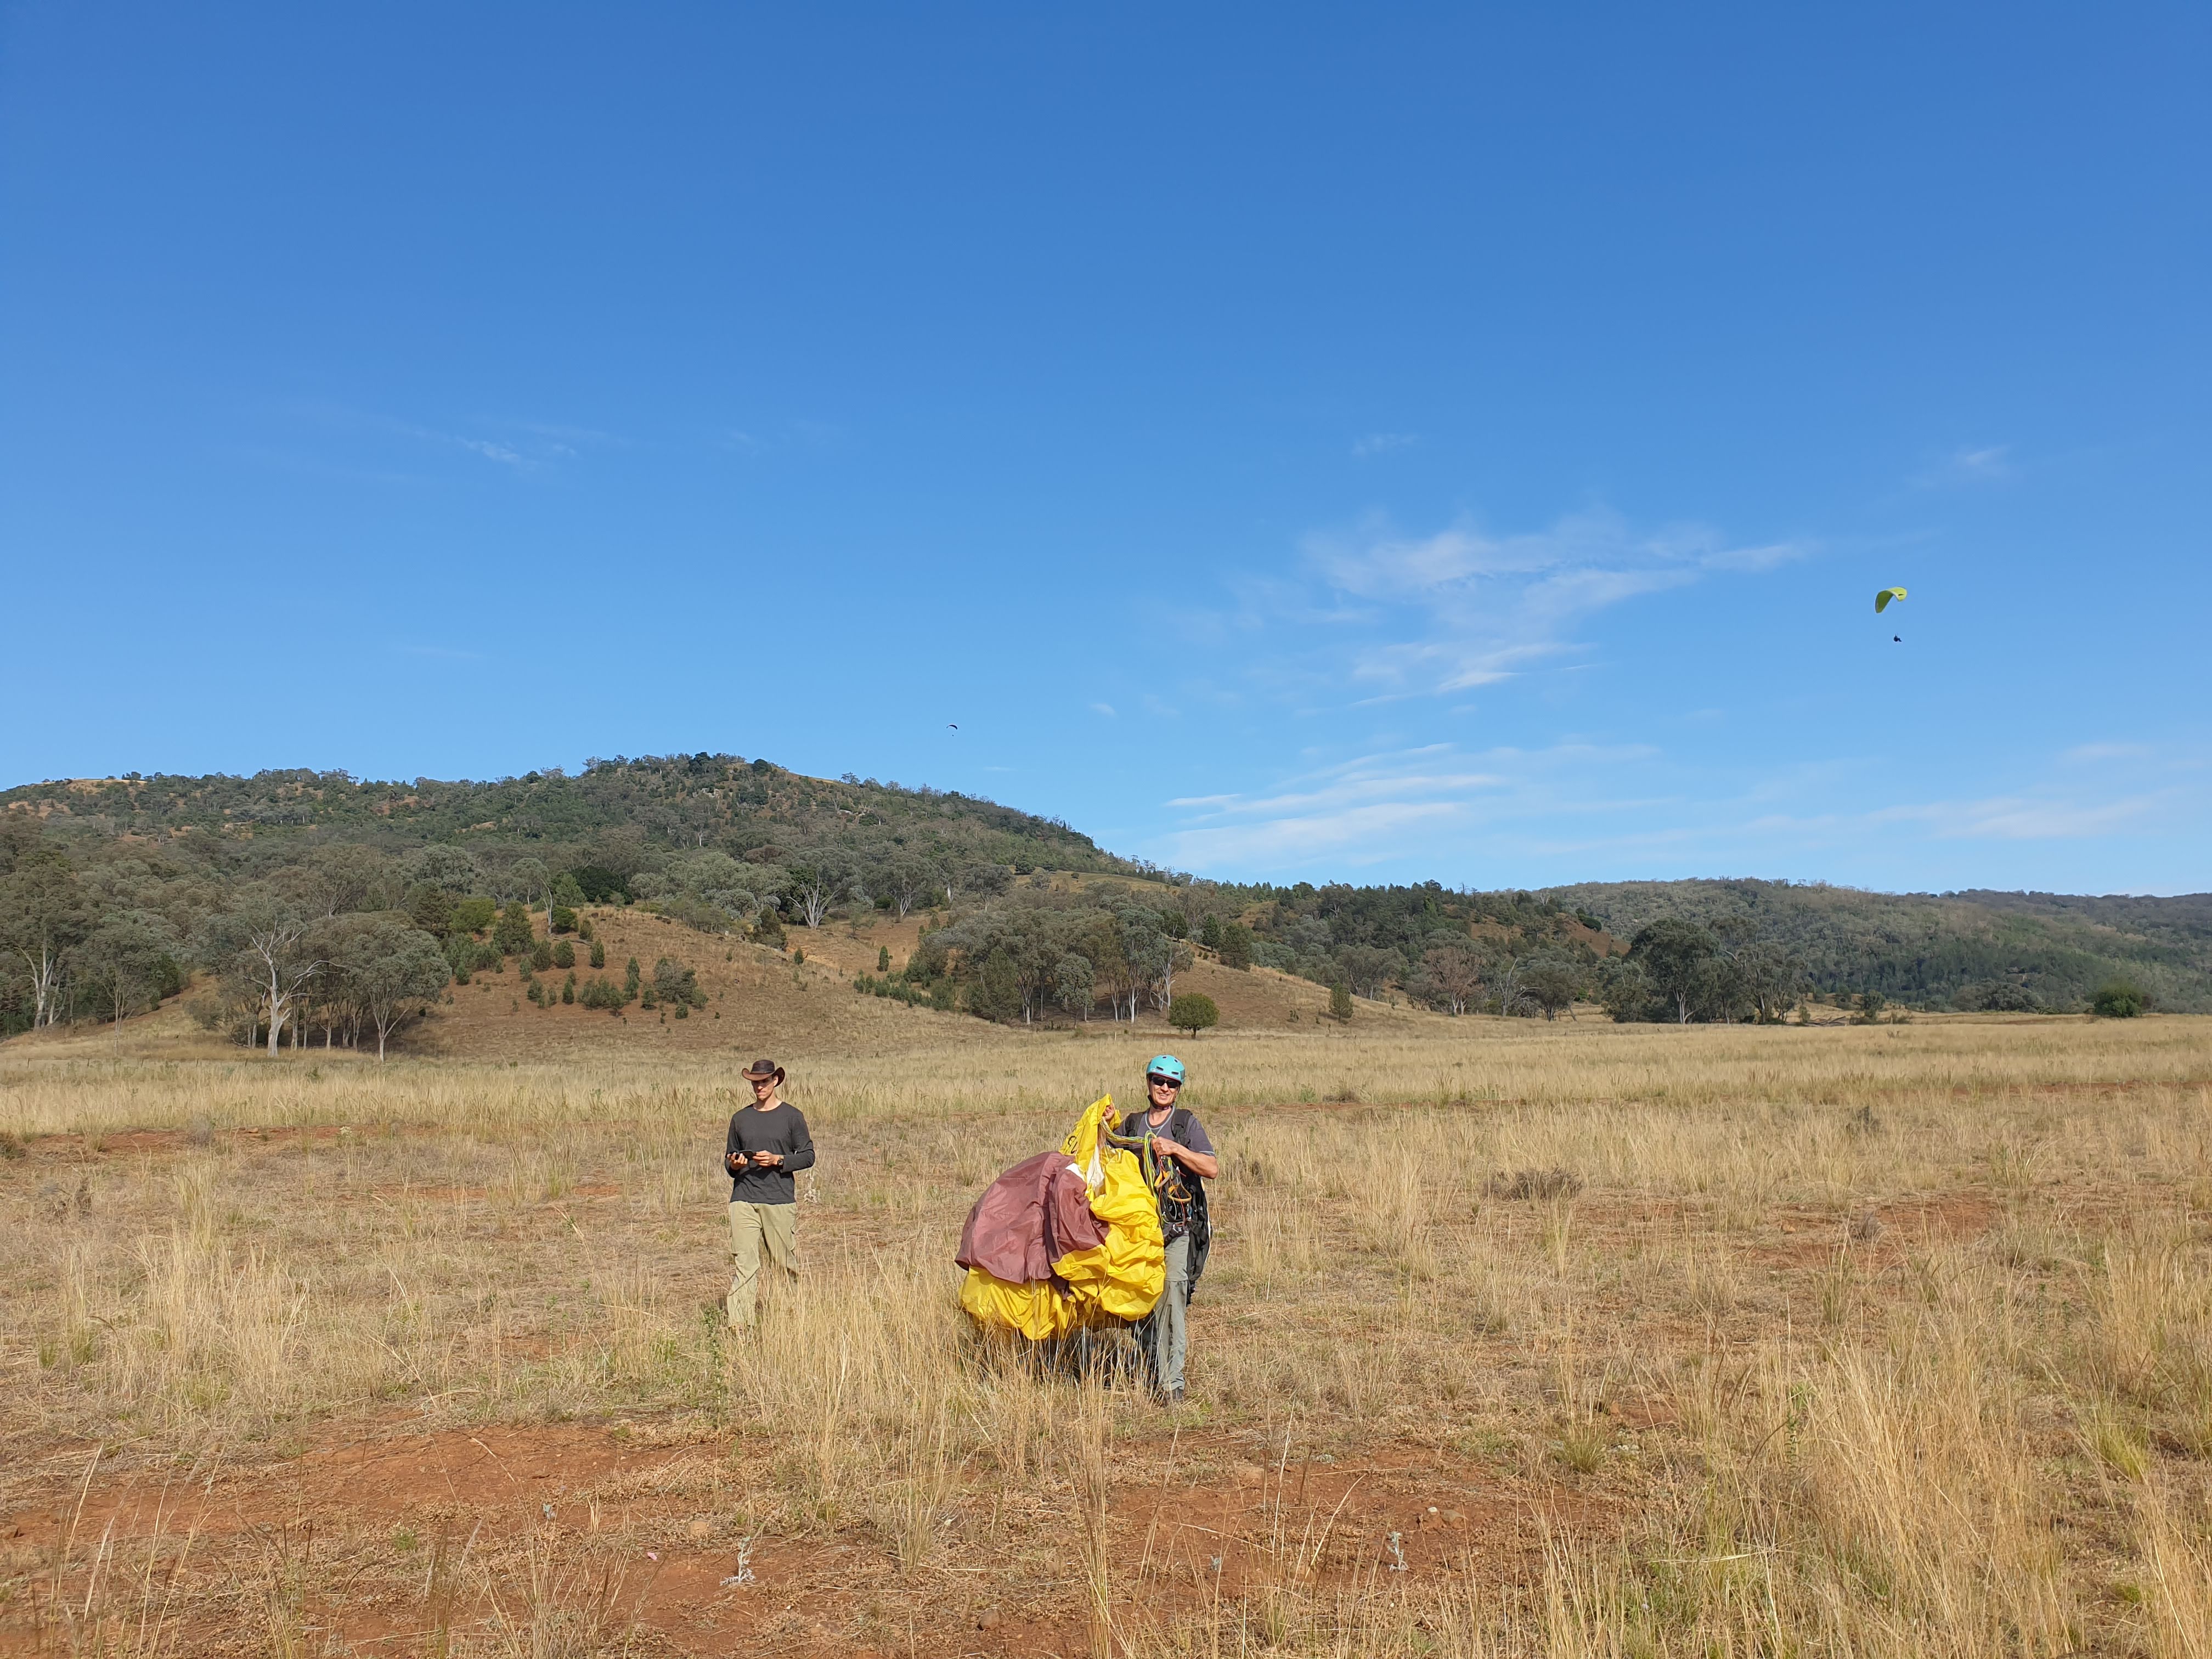
After landing and packing up the first time, I took a shot of the others behind me - one having just packed up, another just starting beats to land and another having just taken off in the background:
Most of us got 2 or 3 flights in before the wind changed slightly. We were going to head to another launch but the thermals were starting up which we’re avoiding at this point. We headed back for a debrief.
The biggest point of learning for me here was just getting a feel for the controls / brakes. On my first flight, while doing 180 degree turns on my approach beats, I was pretty timid with the brakes, tending to just weight-shift with a little brake and ended up doing big half-circles. On the second flight I used more weight shift and pulled the brakes down to carabiner level to get some tighter turns while doing my beats at the end of the landing field.
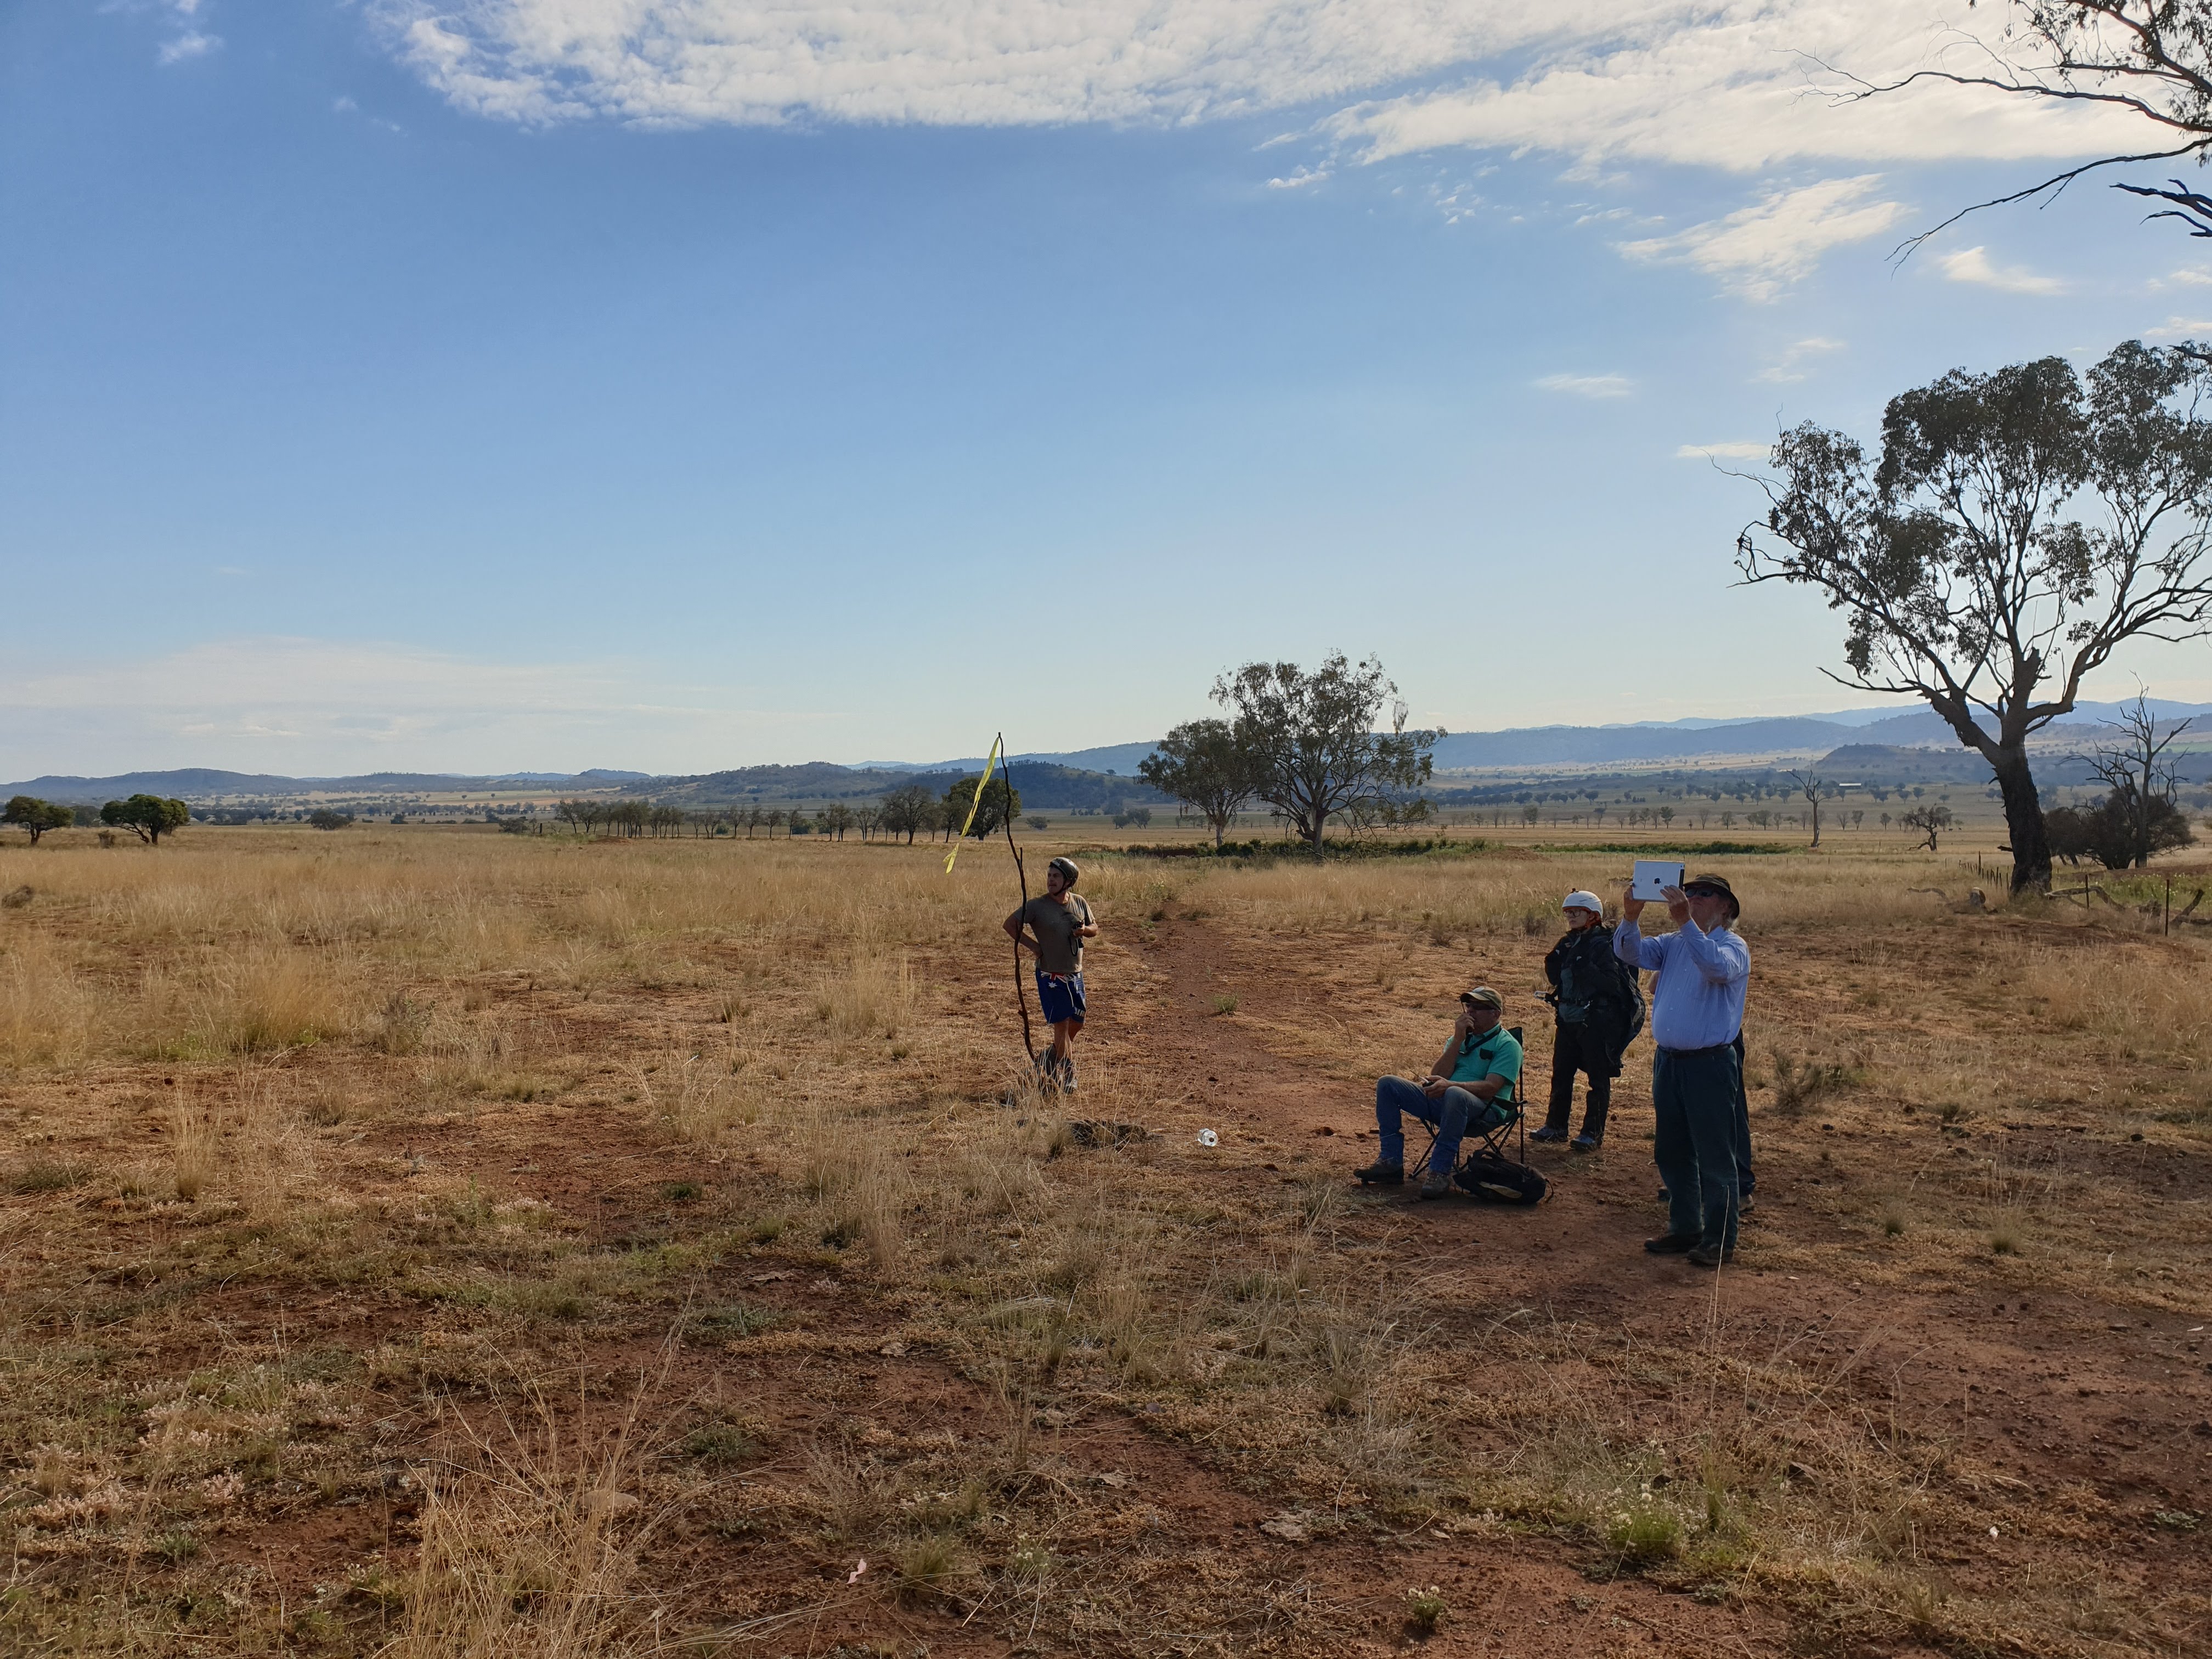
Here’s a shot of “the control tower”, with Karl and Bob alternating on the radios:
Unfortunately we didn’t get into the air or into the paddock for the rest of the day as the wind was quite strong. We did zoom up the hill late in the afternoon in the hope of flying off the western launch, but by the time we got there the wind had picked up and changed direction enough to make it a bit tricky for us. So the remainder of the day was theory but interesting nonetheless.
Emergencies situations in the air
Other than wing tucks, the situations we looked at are unlikely (well, depending on the risks you take) but I’m keen to visualise through them regularly to train my brain and learn as best I can without being in the actual situation. Knowing the effect of each and recovery procedure (and being ready to use it) can only be helpful for the unexpected.
Full stalls
The first thing to note is that a full stall of the glider in the air requires 100% brakes generally (110% or 120% in an Alpha 6 or equivalent) so it is a situation commanded by the pilot. Unlike a fixed wing glider or plane, which loses speed to the point where the wing falls, a paraglider doesn’t have a wing falling after a stall, but a bunch of plastic and nylon. The only reason to ever create a full-stall situation is if you end up in a situation with a line around the wing (a cravat) which is usually only a situation you’ll get into with a high-performance wing (a higher aspect-ratio, so longer thinner wing with less lines so more gaps for the wing to go through in certain situations).
There are two stages to a stall:
- the wing stops flying at the critical angle of attack, but is still inflated momentarily,
- the full stall when the wing folds in and deflates into a horseshoe shape.
Stages to recovery:
-
if you feel the loss of brake pressure (as the wing is losing pressure in the cells, but still inflated), put your hands up for zero brakes to let the glider rush forward and inflate (if you are not near the ground). You’ll do a pendulum swing and fly off happily.
-
if you’re in a stage 2 full stall (ie. you held the brakes past stage 1) and high, keep holding the brakes for at least 4 seconds (about 100m of height at 20m/s) until the pendulum of your body under the collapsed glider has settled, as the extra force when the glider re-inflates with you sinking fast can cause it to surge forward over your head so quickly that momentum causes it to go all the way around, potentially with you getting wrapped in it as you fall.
Stalling in a very sharp turn resulting in a spin
For example, if you’re doing an emergency turn to avoid an obstacle (powerlines, another glider) and are applying 100% brake on one side, after around 90 degrees the braking wing will stall and the glider will rotate quickly, twisting the lines from the left and right risers together, often jamming the brake on even with your hands up. If you have altitude you can pull the risers apart to unspin them, but if you’re under 100m just throw the reserve immediately. You won’t necessarily be able to see the wing collapse and spin above you but the risers will tell you.
Stalling when only metres above the ground
If you stall 3 or 4 metres above the ground, for example due to an early flare in a smaller glider or high performance glider, do not ease or let the brakes go, instead continue holding the flare and ride the stall. You’ll fall a few metres and want to do a Parachute Landing Fall, but that will be better than easing or releasing the brakes to have the wing shoot forward over your head and then pendulum-swing your body into the ground.
Simple rule: Once you have started your flare, never reverse it, only ever pause it and then continue to flare when ready.
Parachutal stalls
A parachutal stall is when you have some inflation but the wing is not moving forwards. You will still have no brake pressure and will be falling at around 7 to 10 metres per second. This can happen at less than 100% brake in certain cases such as:
- using a porous glider where the stall point happens earlier due to the coanda effect being less
- using a wet glider for the same reason (earlier stall point)
- if the glider’s A-lines have stretched or C-lines have shrunk (or both) as it changes the trim to a higher angle of attack so that it can stall while moving at a faster speed (lines stretching usually only happens if the wing is used for acrobatics or paramotoring or towing)
You’ll notice a parachutal stall by a loss of brake pressure, falling but not falling fast, the glider looks inflated but mushy. To recover from a parachutal stall:
- hands up for 0% brakes - the glider could recover like this, moving forward and picking up speed and inflating (you’ll feel air on your face)
- push forward on the A’s forcing the leading edge forward and lowering the angler of attack to get air in while falling.
If the glider is very porous or wet, it may not recover. If nothing happens after 2 seconds (assuming you’ve some height to wait 2s), pull the reserve.
Collision and Entanglement with another glider
Obviously avoid collisions if at all possible, do a sharp turn or avoid in another way. But if it’s unavoidable then spread your arms and legs out flat to bounce off the lines of the other glider, rather than becoming entangled in the lines by going between them. If you are tangled and below 100m, throw the reserve. If you have height, talk with the other person so that whoever is on top throws their reserve into the clear. The top glider could pull away, in which case the bottom glider can refly or throw their reserve. Otherwise the tangled pair can land with the one reserve. Do not additionally throw the reserve of the bottom pilot as with two reserves one will inflate causing the other to deflate repeatedly which is worse. Finally, if the bottom person has to throw their reserver because the top person can’t or failed, throw far.
Wing Collapses
Total collapse
This only ever happens if you’re very high and under a cloud where there’s a sudden downburst of air falling. If you find yourself in this situation, hands up (zero brakes). The exit will depend on whether the result is a full, asymmetric or partial collapse.
Tip collapse / tucks
When in a thermal, the wing tip may leave the core of the thermal and experience a vertical wind sheer (as the cold air moves down the outside of the core) causing an asymetric collapse. Therefore learning to deal with an asymmetric collapse is important. Asymmetric collapses are the cause of approximately 50% of hospitalisations and deaths in paragliding often due to the unexpected change in direction. The danger is that the tuck in only one wing tip will cause roll, while the collapsed side also behaves like a big brake. Combined together this can cause a spiral dive.
To recover from an asymmetric collapse,
- Weight shift to the high side to counter the roll. You may need to hold your arm against the risers to pull yourself to the high side (without pulling the riser down).
- Counter the turning with some brake (but no more than 20% as you don’t want to stall the wing which will happen more easily with the lost area and speed).
- Pump the brake on the collapsed side with big deep pumps. This causes the cells to open and start capturing air.
A-class gliders are certified to recover from an asymmetric collapse with a turn of less than 90 degrees, while B-class gliders will turn less than 180 degrees. According to the Alpha 6/28 EN/LTF Certification tests, the Alpha 6 will do less than 30 degrees.
Frontal collapse
Frontal collapses may happen flying in and out of thermals in higher-classed gliders. If you feel the glider pitching back a long way (often you’ll see or feel the risers go back) do not add brakes as you could go straight into stage 2 of a stall (no inflation). The pendulum effect will cause the wing to go forward as you swing behind and you can apply brakes as the wing comes back over your head to minimise this. If you miss this and the wing goes so far forward that you suffer a frontal collapse, hands up. Don’t brake on the exit recovery from the frontal collapse as may stall again until you build up speed.
I was thinking about this at the time and wondering if entering a thermal is a chance to anticipate the exit and practise braking the wing to stop it surging a little on exit?
Emergency landings
How to minimise risk in each of the following situations.
Landing in calm water
Accept that you’re landing in water and move on to the next decision, rather than losing time by not accepting it. To minimise the risk,
- Land into the wind as normal (often this may mean away from the shore, which is confusing for our natural instinct of getting to the safety we can see)
- Disconnect and un-clip from the harness, get your arm out of the shoulder straps. Stay seated - obviously don’t move into the standing position or you’ll just fall out.
- Wait until your feet are almost touching the water and then do a full flare, plonking yourself out of your harness and into the water.
- Having held a large breath, stay under water and swim in the direction of travel (ie. if ino the wind then the glider will be behind you) getting away from the glide.
Also, be sure that any potential rescuers are aware of the lines as they can be a danger not just to you.
Landing in surf
All the points about calm water are still applicable. Additionally, don’t land with a tail wind trying to get to land. It’ll be better and safer to land out behind the breaking waves. Be aware, currents in the water could move the glider towards you.
Landing in a tree
You may be flying over a forest, into a headwind while discovering sinking air when you run out of options, or you might be avoiding an obstacle. For whatever reason, you’re going to land in a tree: how can you minimize the risk?
- Land into the wind as normal.
- Pick a target to get to large branches, somewhere in the top 1/3 of the tree.
- Stay seated, lay back further with your feet up to protect your legs and body (legs crossed?).
- Do a solid flare when your feet touch the tree’s outer branches. This should allow you to crash through the light and small branches to get to the bigger branches.
- Assess the situation, make yourself secure.
- Disconnect risers and speed system from the harness, as you may have objects or tools to help in there.
- Wait to be rescued.
If you’re low you can utilise the length of the reserve lines by attaching the harness to a branch and then dropping down carefully to the ground, but obviously don’t leave your phone or other useful things in the harness when doing this.
Landing in a sparsely treed area
If you’re trying to land in a more sparsely populated treed area, be very careful not to get the tips caught as you can spin and stall the wing immediately. One option to avoid this is to do big ears as you come down to land, letting out the big ears at around twice your normal flare height, then flare. I wonder if this one is worth practising occasionally (without the trees of course), even in ground handling.
Landing amongst power cables
Simply don’t do it. Do everything you can to avoid ever needing to land near power cables. Know the site, be aware, talk to locals, re-asses your limits etc. Even spin the glider (hard brake to avoid the power lines until that side stalls) if you’re not that high - you may brake your leg, but that’s usually a better option. Do anything to avoid ending up in power lines. But if you do get stuck on a power line:
- Obviously don’t touch another line or, less obviously, don’t touch a pole if you’re near one (it’s earthed and you’re not - even your paraglider lines can be conductive depending on a few factors)
- wait to be rescued
- Don’t let people rescue you, even if they’re close enough to do so
- If there are broken cables on the ground (arcing most probably, but even if not), do not spread out as parts of the ground will be energized too and electricity will prefer to go through you rather than air or earth.
Also be aware that powerlines out in the country won’t necessarily follow roads. Though you can’t always see the lines or the poles, you can spot the pattern of the shadow of the poles. Generally avoid areas around houses as the power will be running to them.
So, a lot of theory for one day. Hopefully tomorrow we’ll be able to practise some more!